The Ultimate Strawberry Cheesecake Dump Cake: A Decadent, No-Fuss Dessert
How to Make Strawberry Cheesecake Dump Cake
Here’s a step-by-step guide to making this delicious dessert:
Step 1: Preheat Your Oven
Start by preheating your oven to 350°F (175°C). This ensures that your cake will cook evenly and the topping will become golden brown and crisp.
Step 2: Prepare the Cream Cheese Filling
In a medium mixing bowl, beat the softened cream cheese, sugar, vanilla extract, and salt together until smooth and creamy. Use a hand mixer or a whisk to make sure there are no lumps in the mixture. This will form the cheesecake layer in the middle of your dump cake.
Step 3: Layer the Ingredients
Now it’s time to assemble the dump cake:
First layer: Spread the can of strawberry pie filling evenly across the bottom of a greased 9×13-inch baking dish.
Second layer: Drop spoonfuls of the cream cheese mixture on top of the strawberry filling. It doesn’t need to cover the entire surface; the cream cheese will spread slightly as it bakes.
Third layer: Sprinkle the dry vanilla cake mix evenly over the cream cheese mixture. Try to distribute the cake mix as evenly as possible for a consistent texture.
Fourth layer: Drizzle the melted butter over the top of the cake mix. The butter will seep through the cake mix during baking, creating that buttery, golden crust.
Step 4: Bake the Cake
Place the dish in the preheated oven and bake for 40-45 minutes. You’ll know the cake is done when the top is golden brown, and the filling is bubbling up around the edges. If you prefer a crispier top, you can bake it a little longer—just keep an eye on it.
Step 5: Cool and Serve
Allow the cake to cool for 10-15 minutes before serving. You can enjoy it warm or at room temperature. It’s great on its own, or you can top it with whipped cream or a scoop of vanilla ice cream for added indulgence.
Tips for Success
Use softened cream cheese: If the cream cheese is too firm, it will be difficult to incorporate into the mixture, and you may end up with lumps.
Don’t skip the butter: The melted butter helps to create that perfect crumbly topping. Without it, the cake mix might stay too dry.
Evenly distribute the cake mix: Try to sprinkle the cake mix evenly over the cream cheese layer so that the cake bakes uniformly.
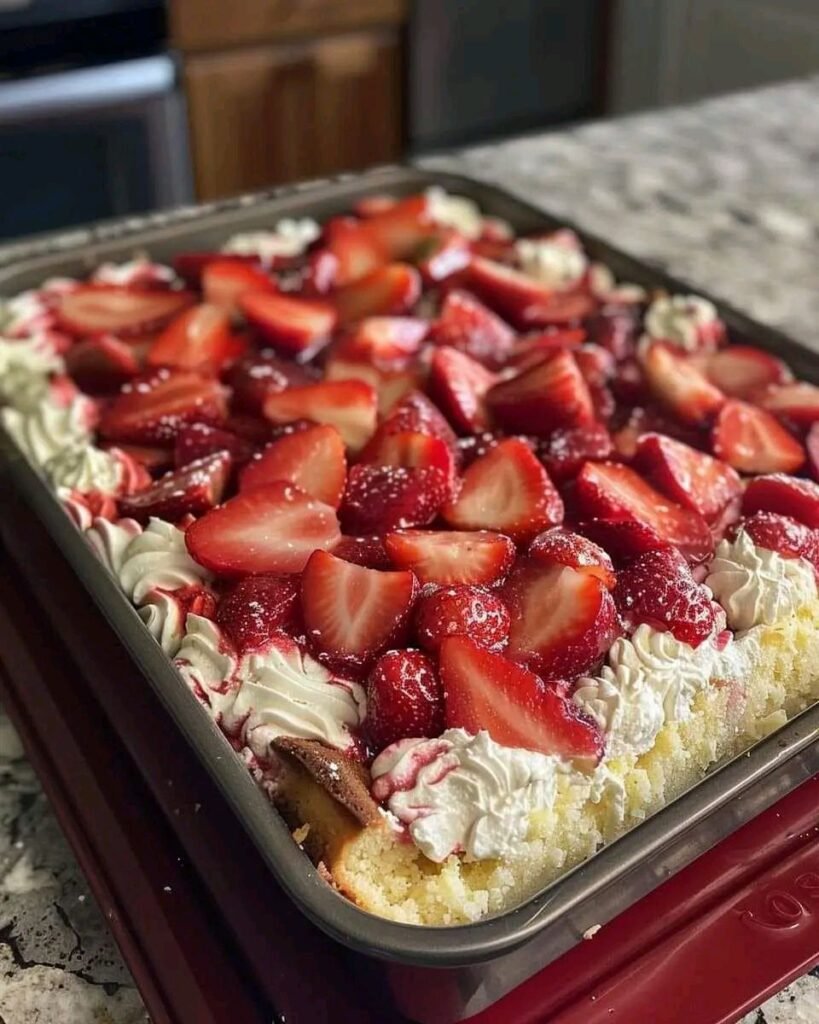
Add fresh fruit: For an extra burst of flavor, add fresh strawberries (or other berries) on top of the pie filling before baking.
Check for doneness: Baking times can vary depending on your oven, so check the cake starting at 40 minutes. The top should be golden, and the filling should be bubbly.
Serving Suggestions
This Strawberry Cheesecake Dump Cake is perfect on its own, but here are a few ways you can elevate it:
Whipped Cream: A dollop of freshly whipped cream adds a light, airy touch to the richness of the cheesecake layer.
Ice Cream: Vanilla, strawberry, or even chocolate ice cream pairs wonderfully with the sweet and tart flavors of the cake.
Fresh Strawberries: Garnish the top with fresh strawberries for a fresh, juicy contrast to the warm, baked filling.
Chocolate Drizzle: A drizzle of chocolate syrup adds an extra layer of decadence.
Variations to Try
Berry Dump Cake: Replace the strawberry pie filling with blueberry, raspberry, or mixed berry pie filling for a different flavor profile.
Lemon Cheesecake Dump Cake: Swap the vanilla cake mix for a lemon cake mix, and add a little lemon zest to the cream cheese layer for a tangy twist.
Peach Cheesecake Dump Cake: Use a can of peach pie filling instead of strawberry for a summery, peachy version of the dump cake.
Conclusion
This Strawberry Cheesecake Dump Cake is the ultimate easy dessert that combines the flavors of a classic cheesecake and a fruity, buttery cake. Whether you’re an experienced baker or a beginner, this recipe is a guaranteed winner for any occasion. So, the next time you’re looking for a quick yet impressive dessert, give this dump cake a try. You’ll be amazed at how such simple ingredients can create such a delightful treat. Happy baking!
I hope this detailed article helps! Let me know if you’d like to make any adjustments or need additional content.