In a small bowl, dissolve the yeast in the lukewarm milk with a pinch of sugar. Let it sit for 5–10 minutes until it’s foamy on top. (This tells you your yeast is alive and active!)
In a large mixing bowl, whisk together the flour, salt, and sugar.
Add the egg, sour cream, softened butter, and the foamy yeast mixture to the dry ingredients.
Mix and knead the dough until it’s smooth and elastic, about 7–10 minutes by hand or 5 minutes with a stand mixer.
Cover with a clean kitchen towel and let the dough rise in a warm spot until doubled in size — about 1 hour.
Step 2: Prepare the Lard (or Butter)
While the dough rises, soften your lard or butter until it’s spreadable (but NOT melted). (Think: the consistency of frosting.)
Step 3: Laminate the Dough (The Fun Part!)
This is what creates those gorgeous flaky layers:
Once the dough has risen, punch it down gently.
Roll it out into a rectangle, about ½ inch thick.
Spread a thin, even layer of the lard/butter all over the surface.
Fold the dough like a letter:
Fold the bottom third up,
Then fold the top third down over it. (Just like you’re folding a business letter!)
Rotate the dough 90 degrees.
Roll it out again gently and repeat the folding process.
🔔 Tip: Do this folding and rolling 3 times total, chilling the dough for 15 minutes in the fridge between folds if it gets too soft.
This layering is what gives Hungarian pastries their classic, irresistible flakiness.
Step 4: Roll Out and Fill
Roll out the dough one final time to about ¼ inch thick.
Cut into squares (about 3×3 inches, or whatever size you like).
If you want to fill them:
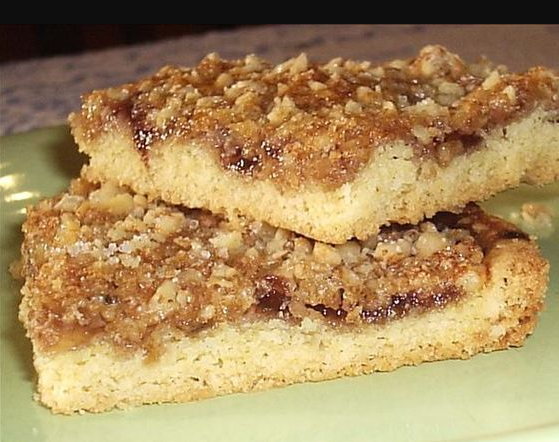
Place a teaspoon of jam or nut filling in the center of each square.
Fold over into triangles or rectangles, pressing the edges gently to seal. (You can crimp the edges with a fork for a cute finish.)
Step 5: Bake
Preheat your oven to 375°F (190°C).
Place pastries on a baking sheet lined with parchment paper.
Bake for about 15–18 minutes, or until golden and puffy.
Step 6: Finish with a Dusting
Let the pastries cool slightly on a wire rack.
Dust generously with powdered sugar while still a little warm.
🧡 Why You’ll Fall in Love With This Hungarian Pastry:
Super flaky and buttery without feeling heavy
Deeply nostalgic: it brings back memories of grandmothers, cozy kitchens, and snowy winter mornings
Flexible: sweet or even savory fillings work
Fun to make: the folding process is relaxing and satisfying
✨ Serving Ideas:
Perfect with a cup of strong Hungarian coffee ☕
Serve warm as a cozy breakfast, brunch, or a holiday treat
Bring to family gatherings and watch them disappear from the plate!
🌟 Bonus Tip:
If you want to be extra authentic, homemade plum butter (szilvalekvár) as a filling is the most traditional and absolutely divine!
Would you like me to also give you a cute story-style intro for this one too? Like, imagining a snowy Hungarian village kitchen while the pastries bake? ❄️🏡💕 It would make it even more perfect if you’re planning to post it somewhere! 🎀 Want me to add that?
")
: A Taste of Tradition That Warms the Heart 🌰🎄")


