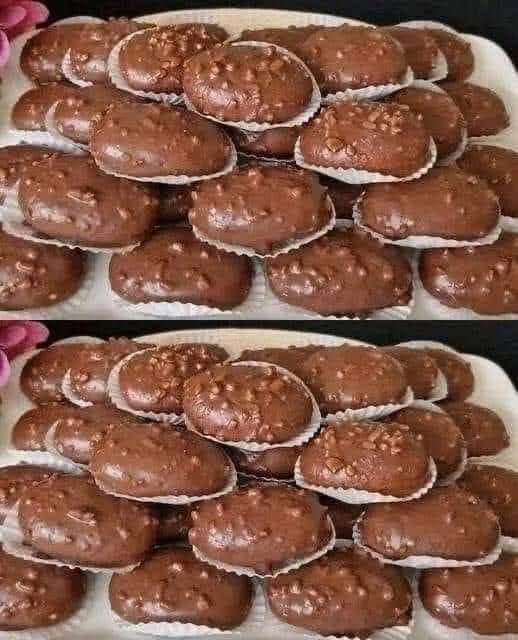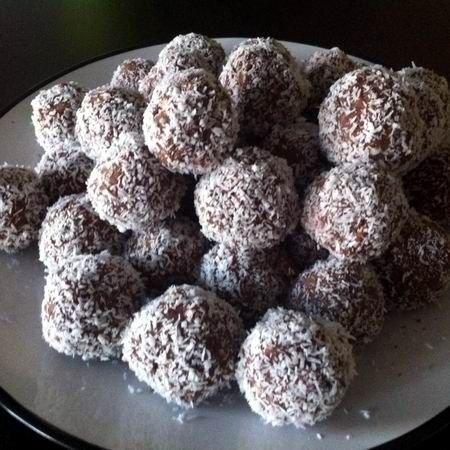
Here’s a detailed article on Chocolate Rice Krispie Balls, including variations, tips, and serving ideas.
Chocolate Rice Krispie Balls – A Crunchy, Chocolatey Delight
When it comes to no-bake desserts, few treats are as satisfying as Chocolate Rice Krispie Balls. These bite-sized delights combine crispy cereal, creamy chocolate, and crunchy nuts, making them the perfect sweet snack for any occasion.
Whether you’re making them for holiday treats, kids’ lunchboxes, or party desserts, they are easy, quick, and incredibly delicious. Let’s explore how to make them, variations, and pro tips to get the best results.
Why You’ll Love This Recipe
✔️ No baking required – A simple mix-and-chill recipe.
✔️ Crunchy and creamy – The perfect balance of textures.
✔️ Customizable – Add flavors like peanut butter, caramel, or coconut.
✔️ Perfect for parties – A crowd-pleasing sweet snack.
✔️ Long shelf life – Stays fresh for up to two weeks in an airtight container.
Ingredients for Chocolate Rice Krispie Balls
To make a batch of approximately 24 balls, you’ll need:
Base Ingredients:
- 2 cups Rice Krispies cereal – Adds the perfect crunch.
- 1 cup crushed nuts (hazelnuts, almonds, or peanuts) – Optional, but gives a great crunch.
- ½ cup sweetened condensed milk – Acts as a binder and adds sweetness.
- ¼ cup butter, melted – Provides richness and helps bind ingredients.
- 1 teaspoon vanilla extract – Enhances the flavor.
For the Chocolate Coating:
- 200g milk chocolate (or dark chocolate) – Choose high-quality chocolate for the best taste.
- 1 tablespoon vegetable oil – Helps the chocolate melt smoothly and evenly.
Step-by-Step Instructions
Step 1: Prepare the Mixture
In a large bowl, mix together:
✅ Rice Krispies
✅ Crushed nuts
✅ Condensed milk
✅ Melted butter
✅ Vanilla extract
Stir until everything is well combined and forms a sticky mixture.
Step 2: Shape the Balls
- Using a small spoon or cookie scoop, take portions of the mixture and roll them into small balls.
- Place the balls on a parchment-lined tray.
- Freeze for 15-20 minutes to firm up.
Step 3: Melt the Chocolate
- In a microwave-safe bowl, melt the chocolate and vegetable oil in 30-second intervals, stirring after each.
- Alternatively, use a double boiler for a smoother consistency.
Step 4: Dip the Balls in Chocolate
- Using a fork or toothpick, dip each ball into the melted chocolate.
- Allow excess chocolate to drip off before placing them back on the tray.
Step 5: Let the Chocolate Set
- Chill the coated balls in the refrigerator for at least 30 minutes or until the chocolate hardens.
- Once set, transfer to an airtight container.


